Introduction to Wagtail | Coders of Colour
Session 4 - Setting up AWS for media files
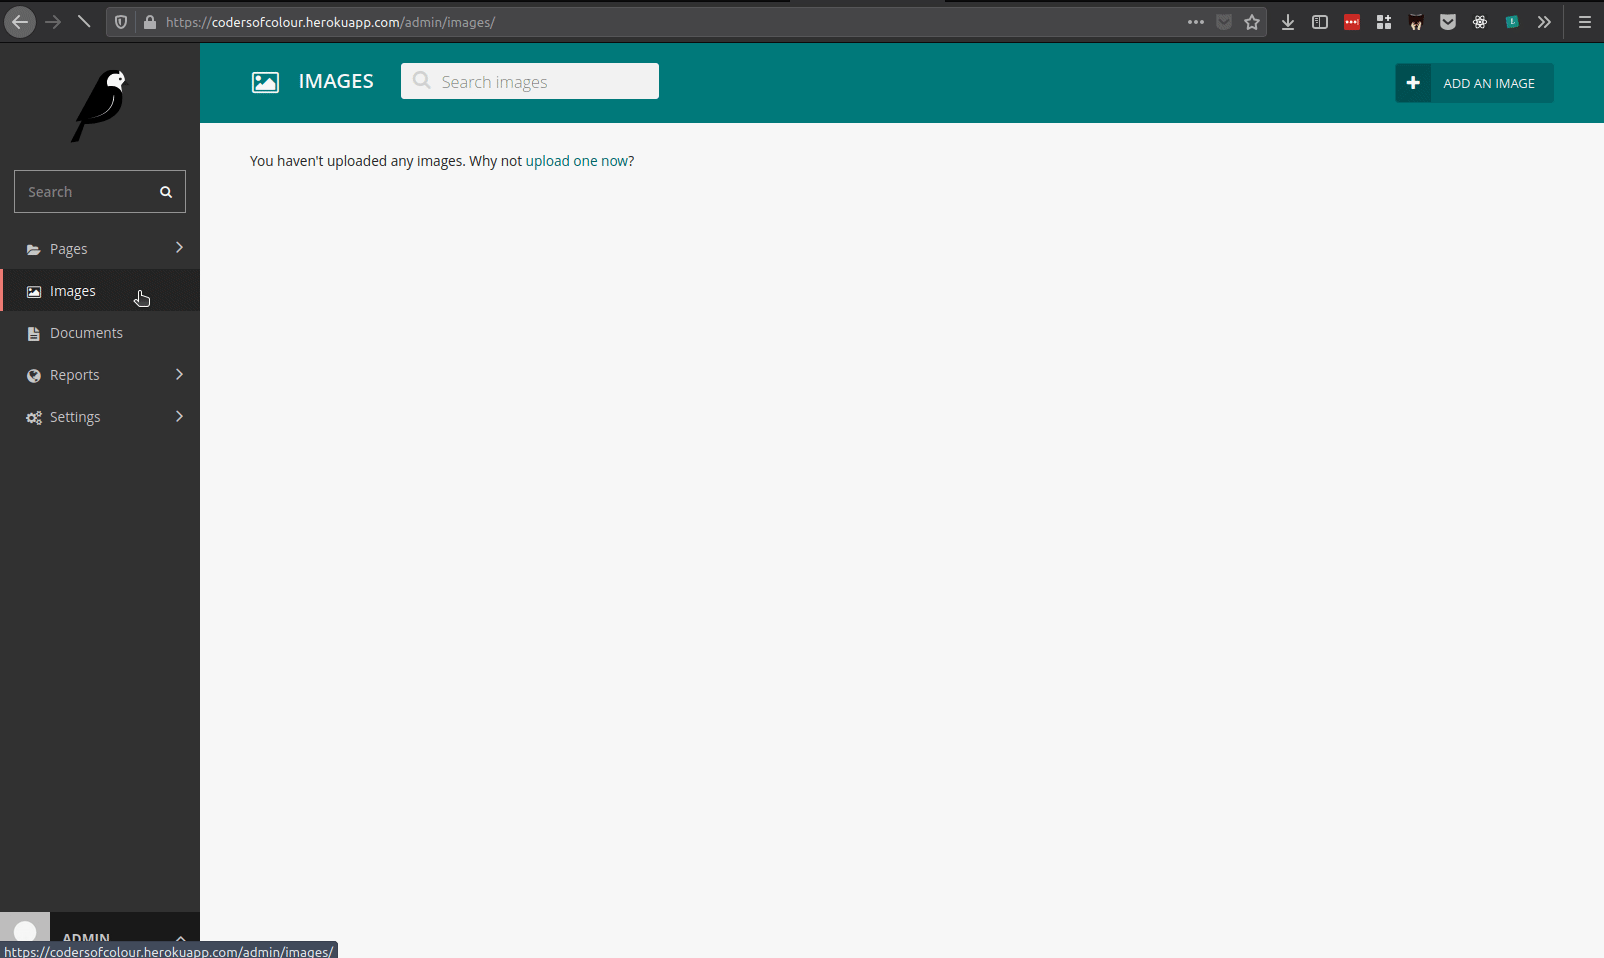
Log into your heroku site by going to /admin. We already ran the createsuperuser command earlier so your account should be set up. Go to Images in the left hand menu. You'll find that when adding images this happens:
While Whitenoise is a handy solution for static assets, it is not intended to handle media assets. There are a few reasons for this. The main reason being that it only checks for files at startup so anything uploaded by a user won’t be seen. It could also open your project up to security risks if you use Whitenoise for media files. Amazon's S3 service is perfect for this.
For setting up S3 we are going to use a tool called buckup created by Tomasz at Torchbox and we will need to install django storages and boto3.
Buckup is a great tool for creating AWS buckets, it takes a lot of the pain away from working with AWS. But if you prefer to set up the bucket manually, there is a great guide on the Wagtail blog: https://wagtail.io/blog/amazon-s3-for-media-files/
For using buckup, add these to you local site
pip install buckuppip install django-storagespip install boto3pip freeze > requirements.txtWe will also be using the AWS CLI. So install that if you haven't already.
We'll mostly follow the instructions on buckup https://github.com/torchbox/buckup#usage. We'll set the bucket up first before configuring the site to use it for media.
In the AWS console locate the IAM user management from the main menu

Click Users > then Add user
I'm going to call my user codersofcolouruser

Next you will be asked to add the user to a group. For now, we'll set up a full S3 user. Click "Create group"

Group Name: S3
In the policies, search for s3 and find "AmazonS3FullAccess", tick it, then search for iam, and tick "IAMFullAccess", and click "Create group".
When your group is created, it’s automatically assigned to the user we created. Click "Next: Tags", bottom right

Skip this and click Next:review
Now click Create User.
You will need the Access key ID and Secret access key to use with Buckup. Read the message at the top - this is the last chance to see these access credentials. I recommend downloading the CSV, and putting them somewhere safe locally, we'll need them when running the buckup tool locally to create the AWS bucket. Do not upload them anywhere!

Back in our local terminal and in our virtual environment. We need to configure buckup to use the AWS user we just created.
aws configureYou will be asked for your credentials we just viewed. Add those in and just accept defaults for the next items by pressing return.
Now we can run buckup. So in our terminal, run buckup --region eu-west-2
buckup --region eu-west-2Buckup will prompt you for information. Here is some help
- Bucket name?
- I called mine codersofcolour
- Username?
- You can use the default (just leave it empty)
- Do you want to enable versioning?
- Enable versioning only for the production, it increases costs because it creates multiple versions of the files
- Do you want to specify paths that you want to be publicly accessible with a link? This will give the "s3:getObject" permission to the public on the list of paths you set.
- Yes, you do, so users can access files straight from your bucket.
- What paths do you want to allow the public to perform s3:getObject on? Please provide comma separated list of paths, e.g.
images/*.- If you create it for a standard Wagtail site, you probably only need to whitelist
images/*. Documents are served by a Wagtail view, not directly from the storage so no need to worry about that.
- If you create it for a standard Wagtail site, you probably only need to whitelist
- Specify a comma separated list of origins whitelisted for the CORS, e.g. "https://example.com" (not required)
- Leave this empty. It's only relevant if you host static assets like fonts or JS in your bucket. We configured our site to use Whitenoise to serve static files earlier.
After you answered the questions you should be prompted with the summary like the one below.
SUMMARY: region: eu-west-1 bucket_name: codersofcolour user_name: codersofcolour-s3-owner enable_versioning: False public_get_object_paths: frozenset({'"images/*"'}) cors_origins: []
Do you want to create a bucket with the above details? [y/n] >>>After you type y your bucket will be created. If it fails in the middle the previous steps won't be reverted - you'll need to manually delete the bucket in the AWS console, figure out what went wrong and re-run buckup.
After bucket has been successfully created, the program will display three important pieces of information that lets you use your bucket in your application:
- bucket name
- access key ID
- secret access key
We will set these as environment variables on heroku.
Whilst we can see our access details to the bucket in the terminal that buckup just gave us, lets add them to the heroku variables in settings > reveal config vars

Now we need to change a few things in our local site and push them up. The last thing we did was install django-storages and boto3.
Next head over to the base.py file in your project's settings directory and add the following chunk of code. This will enable the storages only when it finds the environment variables... which will only be on heroku., so locally we don't use the AWS bucket but we can still test using media.
env = os.environ.copy() # Add this near the top after the imports
# add this towards or at the bottomif "AWS_STORAGE_BUCKET_NAME" in env: INSTALLED_APPS.append("storages") DEFAULT_FILE_STORAGE = "storages.backends.s3boto3.S3Boto3Storage" AWS_STORAGE_BUCKET_NAME = env["AWS_STORAGE_BUCKET_NAME"] AWS_QUERYSTRING_AUTH = False AWS_S3_FILE_OVERWRITE = False if "AWS_S3_CUSTOM_DOMAIN" in env: AWS_S3_CUSTOM_DOMAIN = env["AWS_S3_CUSTOM_DOMAIN"] AWS_S3_URL_PROTOCOL = env.get("AWS_S3_URL_PROTOCOL", "https:")Git commit those changes and push them up... if successful your image uploads should now persist and work.
One final change.
When it comes to running migrations, we need to run python manage.py migrate for the database changes. We don't want to have to run this manually every time on Heroku. Heroku looks for a special file called Procfile, at the root of your repository, which contains instructions for tasks like this. Create a file named Procfile and add the following line:
release: python manage.py migrateFinally commit the changes to git and push up to Github.
Edit this page on GitHub