Introduction to Wagtail | Coders of Colour
Session 2 - Locally building our website
There are 2 ways you can build your site locally, please only follow one option.
- Option 1: local development
- Option 2: Using Gitpod
Check out the video based on this section here.
Overall structure
Before we begin, it's a good idea to see all the parts we will be working with. The diagram below briefly shows the main components we will be building and interacting with.

Option 1: Creating our site locally
For demo purposes, I'm calling my site mysite.
Create a directory for our site
cd ~mkdir mysitecd mysiteThe commands above will move us to the home folder (~), create a folder called mysite, then move us into the mysite folder.
Install Wagtail and dependencies
Wagtail supports Python 3.5, 3.6, 3.7 and 3.8.
To check whether you have an appropriate version of Python 3:
python3 --versionIf this does not return a version number or returns a version lower than 3.5, you will need to install Python 3.
Create and activate a virtual environment
We recommend using a virtual environment, which provides an isolated Python environment. This tutorial uses venv, which is packaged with Python 3.
A virtual environment will isolate our code so it won't interfere with any other projects we have locally. At its core, the main purpose of Python virtual environments is to create an isolated environment for Python projects. This means that each project can have its own dependencies, regardless of what dependencies every other project has.
On Windows (cmd.exe):
python3 -m venv .venv.venv\Scripts\activate.batOn Unix or MacOS (bash):
python3 -m venv .venvsource .venv/bin/activateThe above commands will create a virtual environment folder called .venv and then activate it.
If your .venv is active, you should see it in your shell prompt EG:
(.venv) user@:~/mysiteActivating the virtual environment is important, it means we are using it. Whenever you start a new terminal session or a new terminal tab, you will need to re-activate it.
For other shells see the venv documentation.
If you’re using version control (e.g. git), mysite will be the directory for your project. The .venv directory inside of it should be excluded from any version control, but we will set up the gitignore for this later
Install Wagtail
Use pip, which is packaged with Python, to install Wagtail and its dependencies:
pip install wagtailGenerate your site
Wagtail provides a start command similar to django-admin startproject. Running wagtail start mysite in your project will generate a new mysite folder with a few Wagtail-specific extras, including the required project settings, a “home” app with a blank HomePage model and basic templates, and a sample “search” app.
From within our mysite directory run wagtail start with an additional argument to specify the destination directory:
wagtail start mysiteAfter running this, you should have a file structure like this:
~/mysite <---- the project root~/mysite/.venv <---- the virtual environment~/mysite/mysite <---- the generated wagtail siteInstall project dependencies
Next we need to install all the python libraries that Wagtail requires, these are defined in the requirements.txt file. We install them all in one command like so:
cd mysitepip install -r requirements.txtThis ensures that you have the relevant versions of Wagtail, Django, and any other dependencies for the project you have just created.
Create the database
If you haven’t updated the project settings, this will result in a SQLite database file in the project directory.
python manage.py migrateYou will some output listing a set of steps django takes to setup a database with the tables wagtail will need.
Create an admin user
python manage.py createsuperuserStart the server
python manage.py runserverIf everything worked, http://localhost:8000 will show you a welcome page:
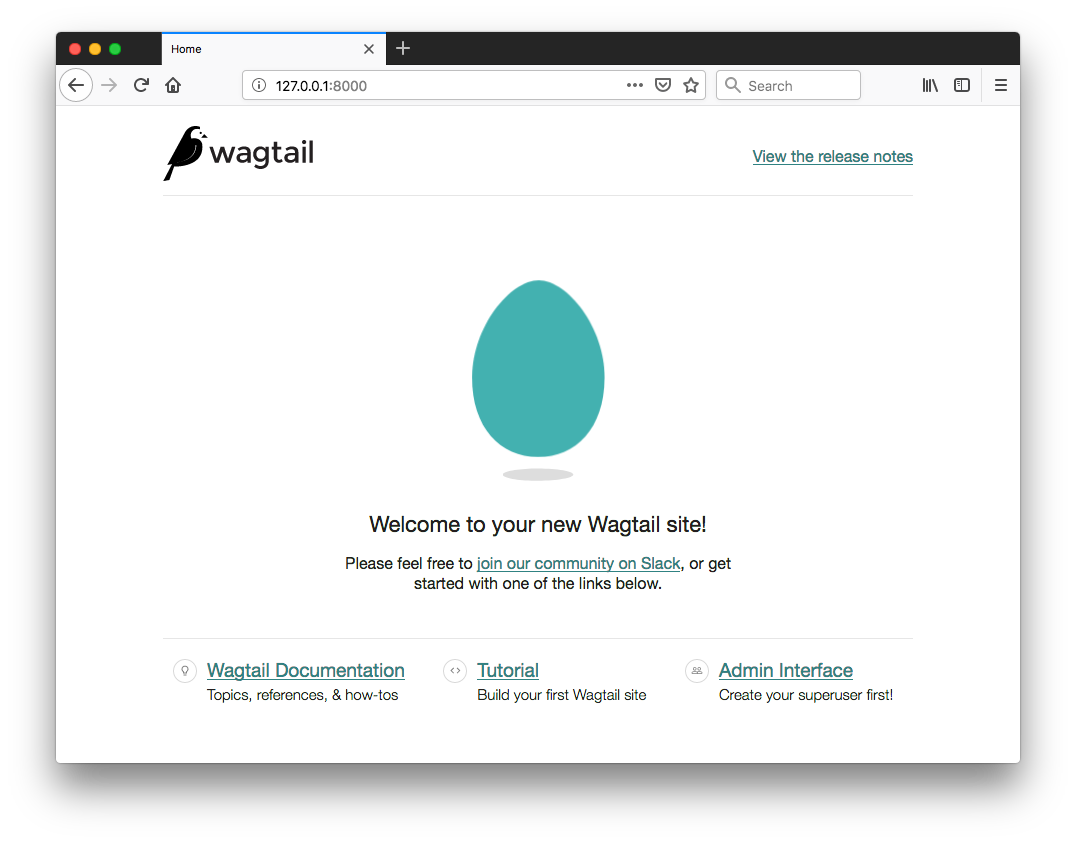
This is already a working wagtail site!
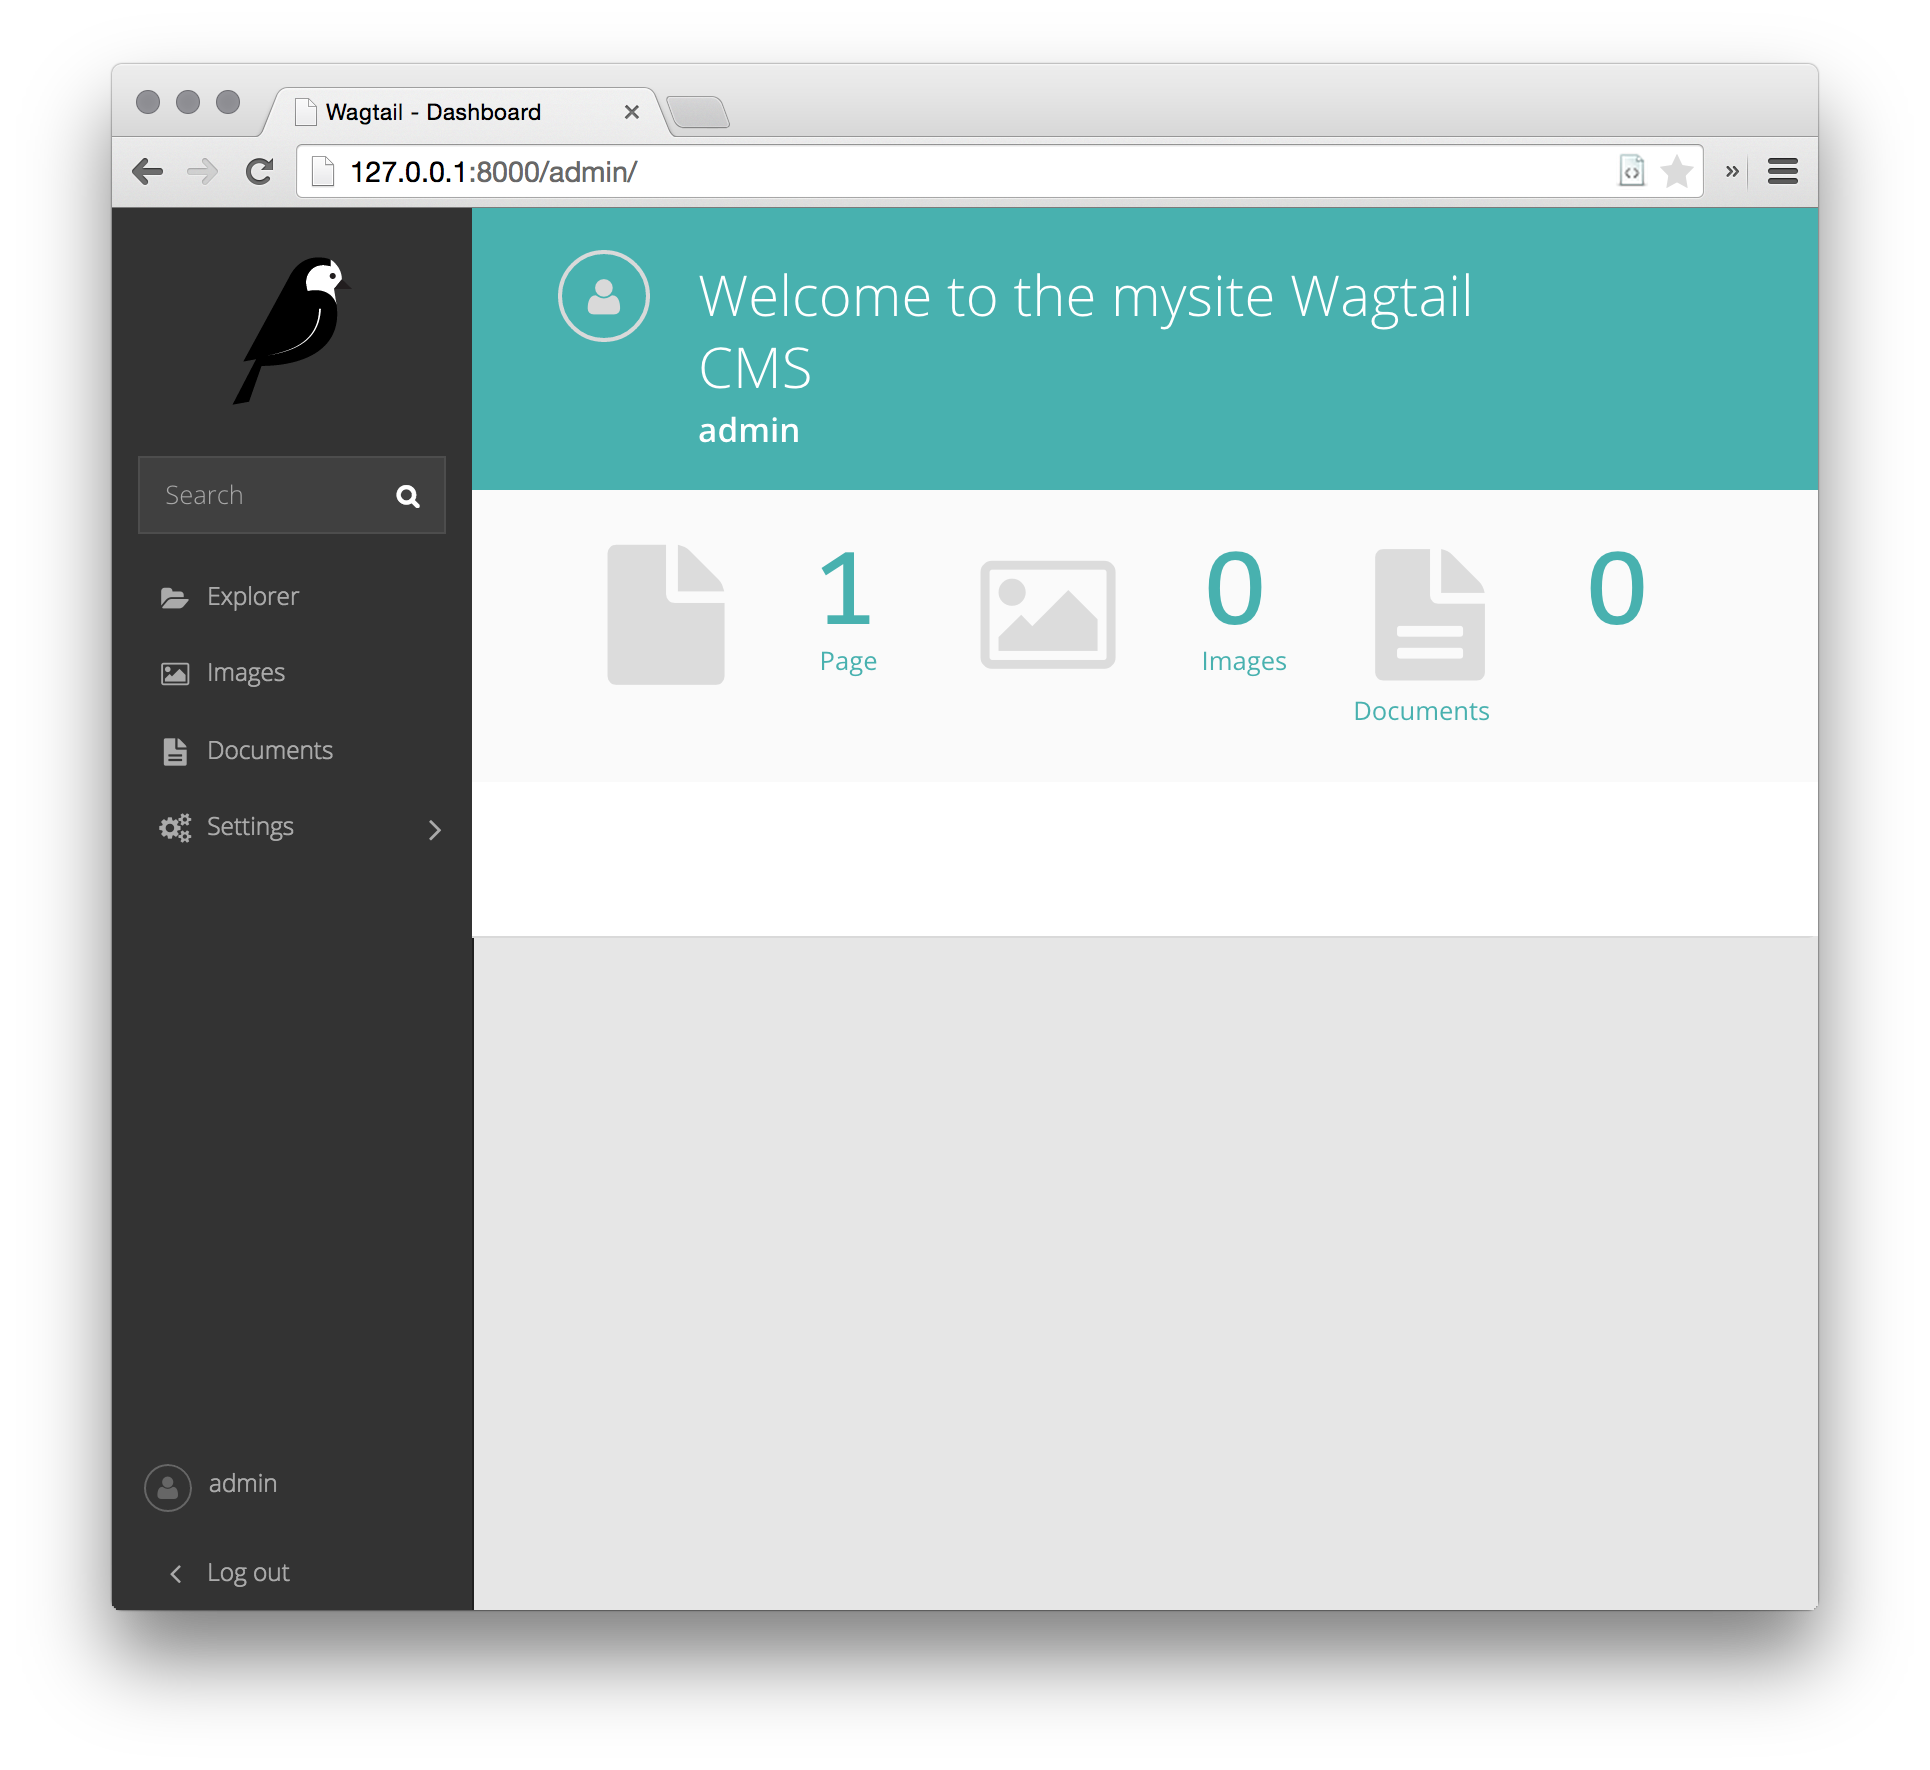
You can now access the administrative area at http://127.0.0.1:8000/admin
Option 2: Creating our site with gitpod
Gitpod is a service that enable us to run and develop code in the browser. If you choose to use gitpod for developing your site you won't have to do any of the steps above. Instead just follow the below steps to set up a new project.
You can login to Gitpod using your github account.
Launch the ready-to-code Wagtail development environment with a single click.

Steps:
- Click the
Open in Gitpodbutton. - Relax: a development environment with an active Wagtail site will be created for you.
When the gitpod instance is ready, you'll be greeted with a screen like this:

This is the VSCode editor running in a browser, at the bottom we can see the server has been started for us and on the right we have a preview of our running site. You can login at /admin/ with username admin and password changeme.
Kalob Taulien has a great video giving a good overview of how to work with wagtail in gitpod, so it's worth having a watch of this to help understand the process. The video here starts a few minutes in an it's effectivley what you should see when you click the 'Open in gitpod' link above.
Edit this page on GitHub